29 April 2011

oh hinges...

At the moment, I am making a [somewhat] honest effort to work on the kitchen to make it satisfactory [as you well know] until I am able to do a complete overhaul. It's a little bit easier to cut corners when one knows that everything will be gutted and replaced. The built-ins; however, are staying [they will just get new drawer and cabinet fronts... and full extension pull-outs]. Here's a refresher of what it was before I moved in >


Anyway, I figure if I'm going to do it, I might as well do it correctly... So, I've decided to take the hinges that have approximately 1,937 coats of paint [ok, maybe 10] off, sandblast, and then powder coat them. One might ask, "Why don't you just get new hinges?" My response is, "I want to preserve the original character as much as possible, and that means keeping the original hinges." In addition to the hinges, I'm stripping what I thought was contact paper [it is actually wall paper- fun, fun] in preparation for paint. I'm starting to think that bead board and 3/4" glass shelves would be a nice, sophisticated upgrade...

oh yes, they had beige alligator/snake skin wall paper up

that is a lot of gunky paint!

i was finally able to locate the screw heads

and cut through the layers of paint to release the hinges - more like pull with all my might and hope that i don't fall and break the glass doors...

i wasn't originally going to take these off, but i might as well
here's where the project stands at the moment - it's a bit of a process
here is the mess that were the hinges

i took them into the model shop at work and sand-blasted them - one of million perks of my job!

but they needed a little more work, so i pulled out the ol' wire brush and mineral spirits. i should have probably worn gloves, especially since there is, more than likely, lead paint somewhere in the concoction of paint. eh, still not a fan of gloves...
i was able to get all of this off! and that's after sandblasting!

much better!
I'll keep you posted on the progress! I hope to get a little farther on this project this weekend, but I have a feeling it will be nice out this weekend [it has been so grey, rainy, and gloomy]. I am a lover of the sun [who isn't], so there is an excellent chance I will be finding every opportunity to be out in it.


xoxo

a

23 April 2011

happy easter!

Happy Easter! I hope all of you are able to spend some time with the ones you love. I will be off enjoying time, good conversation, and of course, great food with my adopted Michigan family tomorrow!

It doesn't quite feel like it should be time for Easter... Plants and flowers tend to take a little longer up here in Michigan, but I do have some!


There isn't a whole lot happening around the house this weekend [and I didn't get hardly anything accomplished this past week] but...


I did get this ugly thing replaced!


With this! I ended up sitting on the counter for awhile trying, with all my might, to open the chain... I gave up and called in the troops... a.k.a. my dear friend, Mike! Thanks again, Mike!!!


that's me, sitting on the counter - don't worry, the scissors weren't involved

and i kept looking at the new light...

so much better! minus the crooked light - just noticed that. i'll have to fix it!

I also bought a new toy this past week! I am probably entirely too excited about it! I'm almost giddy thinking about the future projects!


Have a splendid weekend!


xoxo

a

20 April 2011

spaghetti squash

I know that food has nothing to do with home projects, but it does make my belly happy and a happy belly makes a happy home. And... I finally did the caulking of the nooks and crannies in the kitchen while I was waiting for the squash to cook!


spaghetti squash with homemade sauce

spaghetti squash

1 spagehetti squash
olive oil
salt + pepper

Preheat oven to 345 degrees.

Begin by cutting the squash length wise.


Scoop all the innnards out - I've found that a spoon works best. Careful to not make a mess like I did. Thankfully Bella liked the seeds!


Drizzle with olive oil and top with salt and pepper. Then, put a little bit of water in the bottom of a flat pan (I like to use a pizza pan). Place both halves face down in the pan.


Place in the heated oven and time for 45 minutes.

Meanwhile, get started on the sauce - I cheated and used some that I made and froze earlier. Or, you can use canned sauce, but home made is way better.

sauce

1 can whole tomatoes - or use fresh
1 vidalia onion
butter or margarine

Cut the tomatoes into small chunks and put in a sauce pan (along with the all the liquid). Peel and cut the onion down the middle - not through the top and bottom. Add a dollop of butter to the tomatoes and place the two onion halves face down - add salt and pepper to taste. Simmer - the longer the better. I like to take the onion out after it's cooked, dice and put back in, but the sauce is still really yummy without it.

Back to the squash -

Once it is cooked, take a fork and pull - it should look similar to spaghetti. Place on a plate and top with the sauce! Enjoy!


It's not taking me long to realize that I will never be a recipe book writer. I'm ok with that...


xoxo

a

18 April 2011

carbonara!

I was super tired today at work, so when I came home and laid down instead of working in the kitchen... I felt kind of guilty but then I reminded  myself that I've worked in there pretty much everyday this past week. I was really only planning on finishing up the window above the sink and caulking, but I think that can wait. Anyway, I started watching the Food Network, which inspired me to actually cook. I truly enjoy cooking, I have just been horrible at doing it lately for some reason or another. So, I got off the couch, gazed at my naked fridge + pantry and decided to make carbonara! Yum!


Served in nothing other than one of my Bo bowls. For those of you that I went to school with, you more than likely know my appreciation for this artist. Every piece of pottery he creates is truly a piece of art - I'm fortunate to own a few.

carbonara [my way]

one pkg. whole wheat angel hair pasta
bacon [lean or turkey]
garlic [i love garlic, so i used 4 cloves]
2 eggs
freshly shredded parmesan [i just dumped what i thought looked good]
1 cup frozen peas - thawed
salt + pepper

Prepare the sauce while the pasta is cooking, so that the pasta is still warm enough to cook the egg. Cook the bacon - I know a lot of recipes say to leave the grease, but I like to drain it - chop bacon and put back in pan. Add finely chopped garlic to bacon. While the pasta is still cooking, crack the eggs in a bowl and add the parm. Beat and put to the side. Drain pasta and immediately put it in the bacon/garlic mixture stirring to coat the pasta in the flavor. Remove the pan from flame and add the egg + parm [removing prevents the egg from scrambling]. Lightly stir. The heat from the pasta will cook the egg. Add thawed frozen peas + garnish with more parm + serve! I would have liked to garnish with basil as well, but unfortunately I don't have a garden up and growing yet.

Also, for those of you that don't know about Bella's appreciation for eggs, I snapped a picture. She can hear me crack an egg from two rooms away - she'll come running over wanting to lick it clean. I will never forget the first time my mother discovering this - too funny!


xoxo

a

17 April 2011

before, after, and in progress

I, of course, didn't get nearly as much accomplished as I thought I would this weekend, but I thought I would go ahead and give you an update. As much as I would like to just show you beautiful pictures, home projects just don't work that way, so here we go...


kitchen


i'm keeping an eye out for a new light fixture. i think i lost a light bulb a day this past week...

white bead board wainscoting + new window treatments coming soon


i have yet to sand and paint the drawers and cabinet doors

looking into the dining room


 dining room


i'm keeping an eye out for a new light fixture in here too


entry

need. new. window. treatments...
focal wall

one of bella's favorite spots!


Short, sweet and to the point!

xoxo

a

16 April 2011

hello weekend, i've been waiting for you

I'm beginning to wonder where the weeks go. They seem to just fly by and then I get another weekend! I love it! I just wish [sometimes] that I had a remote or some sort of high tech device to pause, slow down, and fast forward my life for a variety of reasons though. On that note, some thoughts...

There are times when I thoroughly enjoy my alone time in the house - watching tv cuddled up with Bella, getting into projects and sometimes regretting it, and even just being. There are other times when I wonder what in the world I've gotten myself into. Moving to Michigan; where I know a handful of people [after being here 11 months- I can't believe it], buying my first home... Who would have thought that this would be my life after school?  Not me! I have a fabulous job, love the people I work with [they are becoming my family away from home], love Michigan- the winter really wasn't so bad - the summers absolutely make up for all the snow, and the friends I have made are absolutely wonderful!

I've been wondering if Zeeland is the right place for me, but I have to remember that this is just my first home [I dream of owning property on the lake and designing and building my own environmentally conscious home].  My favorite thing is that it is close to work and about equal distance to Grand Rapids as well as the beach - two places I will be frequenting this summer. I also love that I'm just on the outskirts of the historical district, as I often use Bella as an excuse to walk by beautiful homes.

So, there's s some of my more recent thoughts.

Now on with the weekend to do! I took a half day yesterday to work on some things and use up some vacation time, so I was able to do some of this marked off then.

someone insisted on going with me to the hardware store...

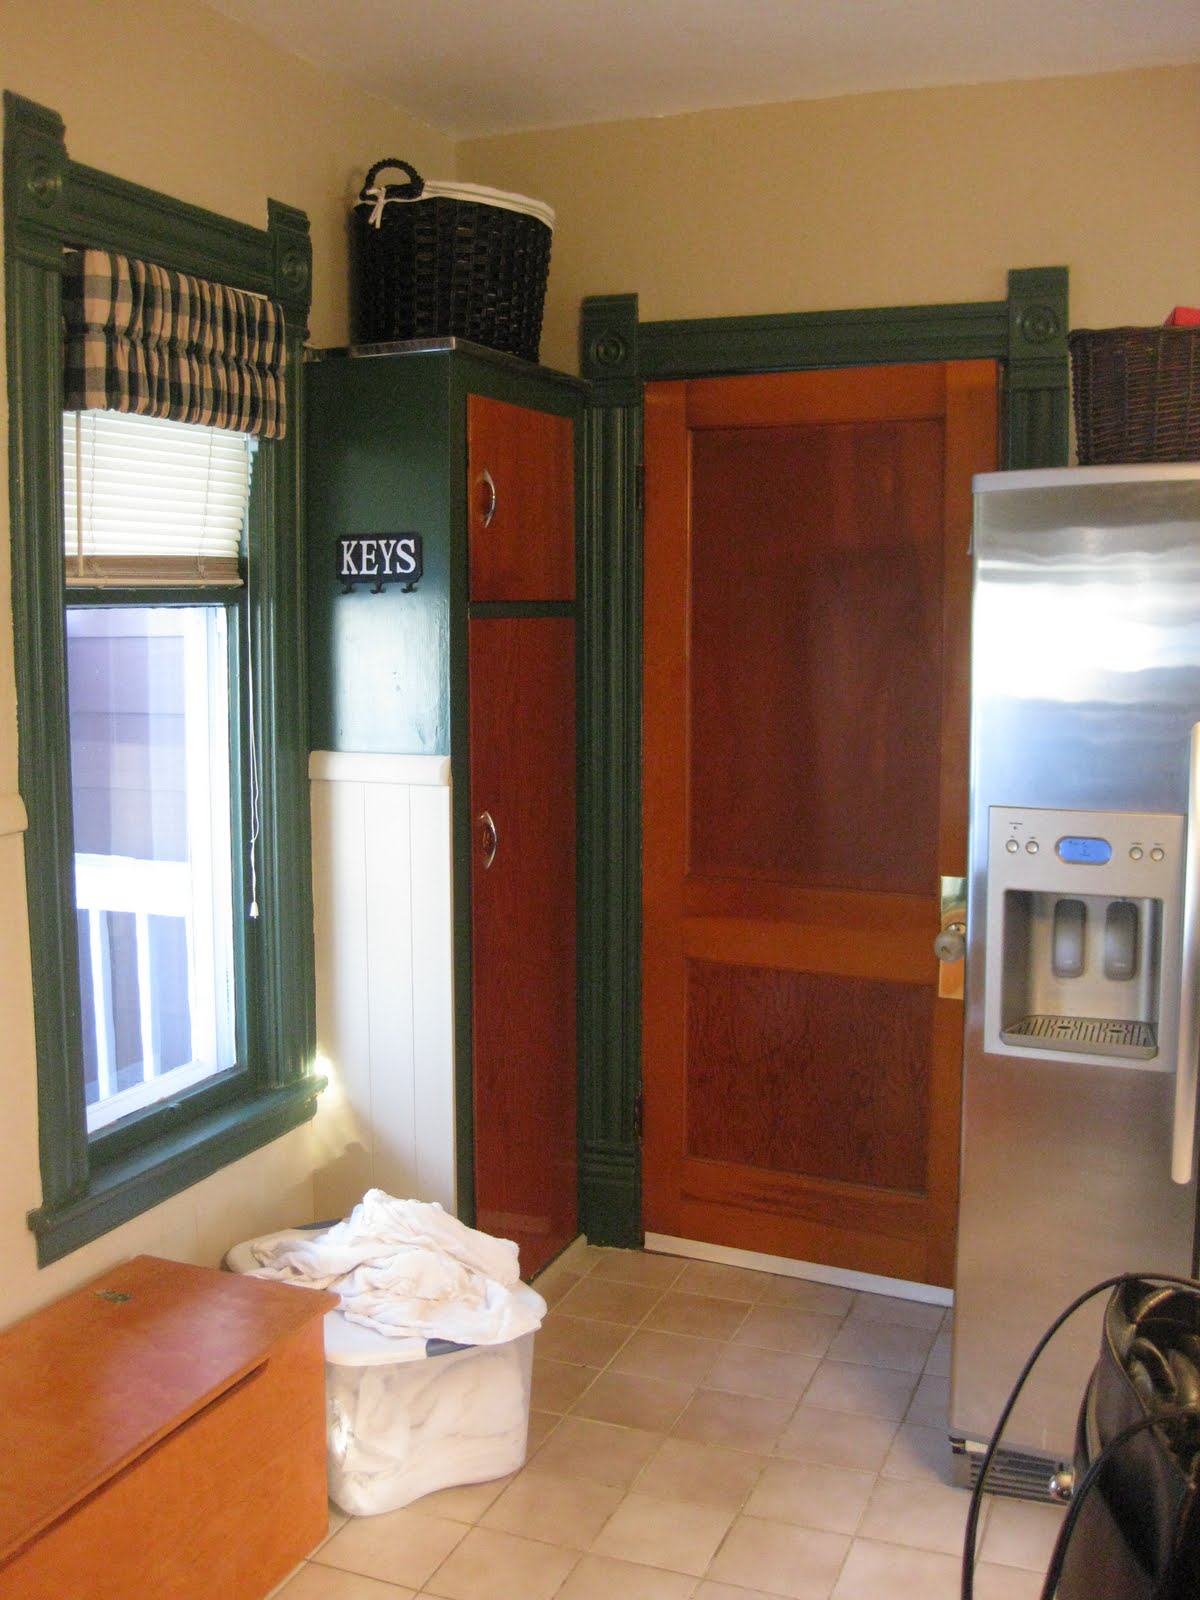
_ work on the dreaded kitchen
_ scrape paint off the doors on the built-ins
_ replace light switch in kitchen   note: the worst electrical experience yet - you never know what you're getting yourself into with an 1896 home
_ paint trim white
_ paint walls
_ remove cabinet doors + fill holes + sand + paint
_ try, with all my might, to open the windows that have been painted shut - i refuse to have all the windows shut when it is gorgeous outside - turns out i need someone with more upper body strength than myself - a.k.a a male or and additional female...
_ buy and cut bead-board for wainscoting [was old school paneling and tile patterned linoleum behind it- yuck - pictures coming soon]
_ caulk nooks and crannies highlighted by painting trim white- can't find my caulk gun anywhere... may have to invest in another one
_ vacuum
_ gym
_ pot plants
_ laundry

I have my work cut out for me...


xoxo

a

12 April 2011

oh my! kitchen...

I love my home, but I hate my kitchen...  It's a relatively large space [16' x 20' with 9' ceilings ] which adds to the perception of space and volume. I think it has a lot of potential, but right now, it is my least favorite. The use of space and the overall functionality is horrible and the hunter green trim with beige walls does absolutely nothing for me.

Here is what my kitchen looked like before I gained possession. I have removed the valences and I anticipate having new blinds in the next month or so. I've also started to paint the trim white [talk about a daunting task!] and the walls a sage/olive green which helps the space feel more like me.


I've started dreaming about what my ideal kitchen would be in this space, knowing that it won't happen for awhile, but here's a hint of what has been inspiring my thoughts:

dog bowls incorporated into the island for bella

love the sink!

a must for the corner cabinet!

simple, straight forward cabinets

"hidden" microwave

i'll end up upgrading the cook-top and stove, moving it to the island and reconfigure the cabinets and counter space

That's all for now!


xoxo

a